Tuesday, October 15, 2013

The Bourbon Barrel Project Continued Again....

 This was the first base coat after chalking out design. This part went pretty fast.
 This was a partial base coat on the second side.


I decided before I got into too much detail on the
 buildings, to stop and prime the bands, so that
if i messed up and got it on the buildings a little it
wouldn't matter. So the white on the bands is the
primer.


 Then, I started to paint the details on the buildings and add the second layer to the greenspace, and water.  I also put a second layer on the sky.  I laid in the horses in thoroughbred park on the right and the window detail.

 Next, I put the details on the buildings of the second side and a second layer to greenspace, and water, and sky. 

 Then, I painted the bands bronze.
 The water drop coming out of the spigot is one of my favorite parts of this barrel.  It was a science experiment that I was working on alongside the painting of this barrel all along. I had planned to in the original design, mount a blue tarp inside the barrel that would be along the same descent as the waterway painted on the outside, and I would then pour epoxy on it so that it would run and harden and look like a real waterway running through the barrel and out of the spigot. I couldn't do that part, but it was still my intent to have the water drop coming out of the side.  I took 3 latex balloons and filled them with epoxy and tied them up to a suspension rod, so that the epoxy would harden inside the balloon.  When I took it off, it would be a clear water bulb and there you go, RIGHT? Nope!  The first round turned out cloudy and  yellow and did not look like any desirable water drop I had ever seen.  They also all had these weird ridges and holes in them.  So, I tried 3 more, but this time I mixed them with blue food coloring to offset the yellowing of the epoxy, that should work! NOPE, Still cloudy and still has those weird ridges, so I tried again, but I figured out that the cloudiness was coming from the powdery film on the inside of the balloon, because it looked perfect at the top where the balloon didn't touch. This time, I turned the balloon inside out, and I also figured out that the weird ridges were from the epoxy dripping down the sides and burning through the balloon from the outside to the inside.  So I made sure to wipe all drips, and this time it had to work.  SCORE!  I had one good blue one and one good clear one,
 It's not quite finished yet, but Oh So Close....
 This picture was taken the night before they were set to be delivered, and I suddenly realized that all the fury to meet deadlines,and contemplating, and studying, and research, and going through tubes and tubes of paint, and spending night and day in my garage alone with just me and my music, and my paintbrushes, and these barrels was almost over.  I could have easily spent 3  more weeks perfecting every brushstroke, and I could say that is why I wasn't ready for it to end.  The truth is I was having a blast. I was truly inspired on this project. I learned a lot, and I met some amazing people, and I would do it again in a minute. 


 This is what my paint plate looked like all the time, and I had to clean it and start over every day, but it didn't take long before it would look like this again.  My thumb even developed some kind of a strain from holding this plate.  I have never had that happen before.


 Finished......


 Time to Load up 4:45 am  August 30th


 Here they go....

 At the Mason Structure, exactly 9:00 Am DUETIME... I am the first one there to unload.


 VIP Reception to meet the other artists and sponsors.... Great Food, Old and New Friends, Fabulous Art, Community Leaders, and oh yeah.. GREAT BOURBON.   It was an awesome night! 

 Dr. Pearse Lyons addressing the crowd. 
 Mayor Jim Gray telling stories about Dr. Lyons.
 My Friend and partner on the "Pinkspiration" Horse, Tania Zivcovich's barrel.   So cute, and she only had 4 days.  SHE ROCKS!  Love that girl....


 My Friend and former studio mate, Wade Christiansen's Barrel. I have to say this was probably my favorite.  Mostly because of how much I love trees, but also because it is just so COOL. You cannot see it on this picture, but he made the actual barrel look like old roots have been growing into it for a hundred years, and is very subtle, but I love the way he did that.


Seriously, cameraman, can you catch me when my eyes are open or when my mouth is closed or when I am looking at the camera?
I have no good pictures of me and this barrel together, but maybe someday....
I loved this one too, it is Smiley Pete walking down Main Street.

Very Cool! Pictures don't do it justice.  

 My Friend, Melody Farris Jackson's barrel, one of them.  She had two, they were both awesome!
 This one was very cool in person, I wish I had been smart like them and done my waterway this way, and instead of cutting a whole window, just made a peephole.  Who am I kidding, I would have never had time to do all that?!?!


 My Buddy, Enrique Gonzalez and his barrel.  He is so fun and apparently his cameraman had the same problems mine did, :)
 Here is Enrique with his sponsor. 


 Me and Tania. 


 Melody Farris Jackson's other barrel based on the design from the flyer for the World Equestrian Games.   LOVE IT!


 This one was 3d, so when you put on the 3d glasses you could see it better. It was really cool that they did that and I have no idea how they did it, but I also have no idea what it is supposed to be, with glasses or without, so ??? 


 Melody and I with my barrel.
 "A Window to the Wellspring" at its new home at Vine and Upper.


I have still not been able to get a picture of  "the Bourbon Trail" at its home at KU on Vine and Grand, but if you are down that way, say Hello for me... and snap your pic in front of it:)

I may win the prize for the longest blogpost on record. 
Until we Meet Again,
JD
Sunday, October 13, 2013

The Bourbon Barrel Project Continued...


 Above are the initial boards with my original designs that I submitted to Lexarts.  On the left, is the preliminary mock-up for "A Window to the Wellspring" Barrel.  My plan was to cut a hole in the barrel and make an actual window out of plexiglass and put a waterway flowing through the barrel that you would see through the window. The grass coming out of the spigot on the left side is to represent the growth of the bluegrass, and the water coming out of the spigot on the right represents the flowing of the waterway through Lexington.  The citiscape of Lexington is shown with a gradual progression from night to day.  Some of the town buildings are bourbon bottles.  I was asked not to cut a hole in the barrel because it would upset the stability of the barrel, so I just painted a window instead.  
The barrel design on the right was for "The Bourbon Trail" Barrel.  The idea was to do the logos from all the distilleries in Kentucky. This barrel included the Buffalo Trace Logo, but then I was told that Buffalo Trace was not on the Bourbon Trail.  I was actually really drawn to their logo, but I was told that they keep their tours free, so they chose not to pay any fees associated with promotion in that way.  However, I could not include their logo on the actual barrel, so I changed the barrel design to include the logos of all of the distilleries on the bourbon trail. 


After the staining and preparing the barrel, I chalked all of the logo designs onto the barrel, then I base coated them.  I didn't do a good job of documenting that part of the process because I was in such a hurry to get at least one of them done, and as I usually do, I got so engrossed in what I was doing that I forgot to stop and document.  Sorry for the lack of preliminary pictures.  The picture below was taken before the 3rd coat on lettering and design.


In my original plan for this barrel, I was going to write up the history of Bourbon in Kentucky and put it on Historical Markers on each end, but after I finished writing out the 3 page essay, I decided there was no way anyone would stand there and read all of that, nor would it fit on the barrel, nor did I want to paint all of those letters, so I decided to write up the history of the Bourbon Trail instead, and I made a marker only on one side. I originally wanted to paint the letters exactly as they appear on the markers, but I decided to go with a more artistic loose font which I felt added a sense of whimsy to an otherwise very serious type historical marker.  I didn't want it to feel too serious.
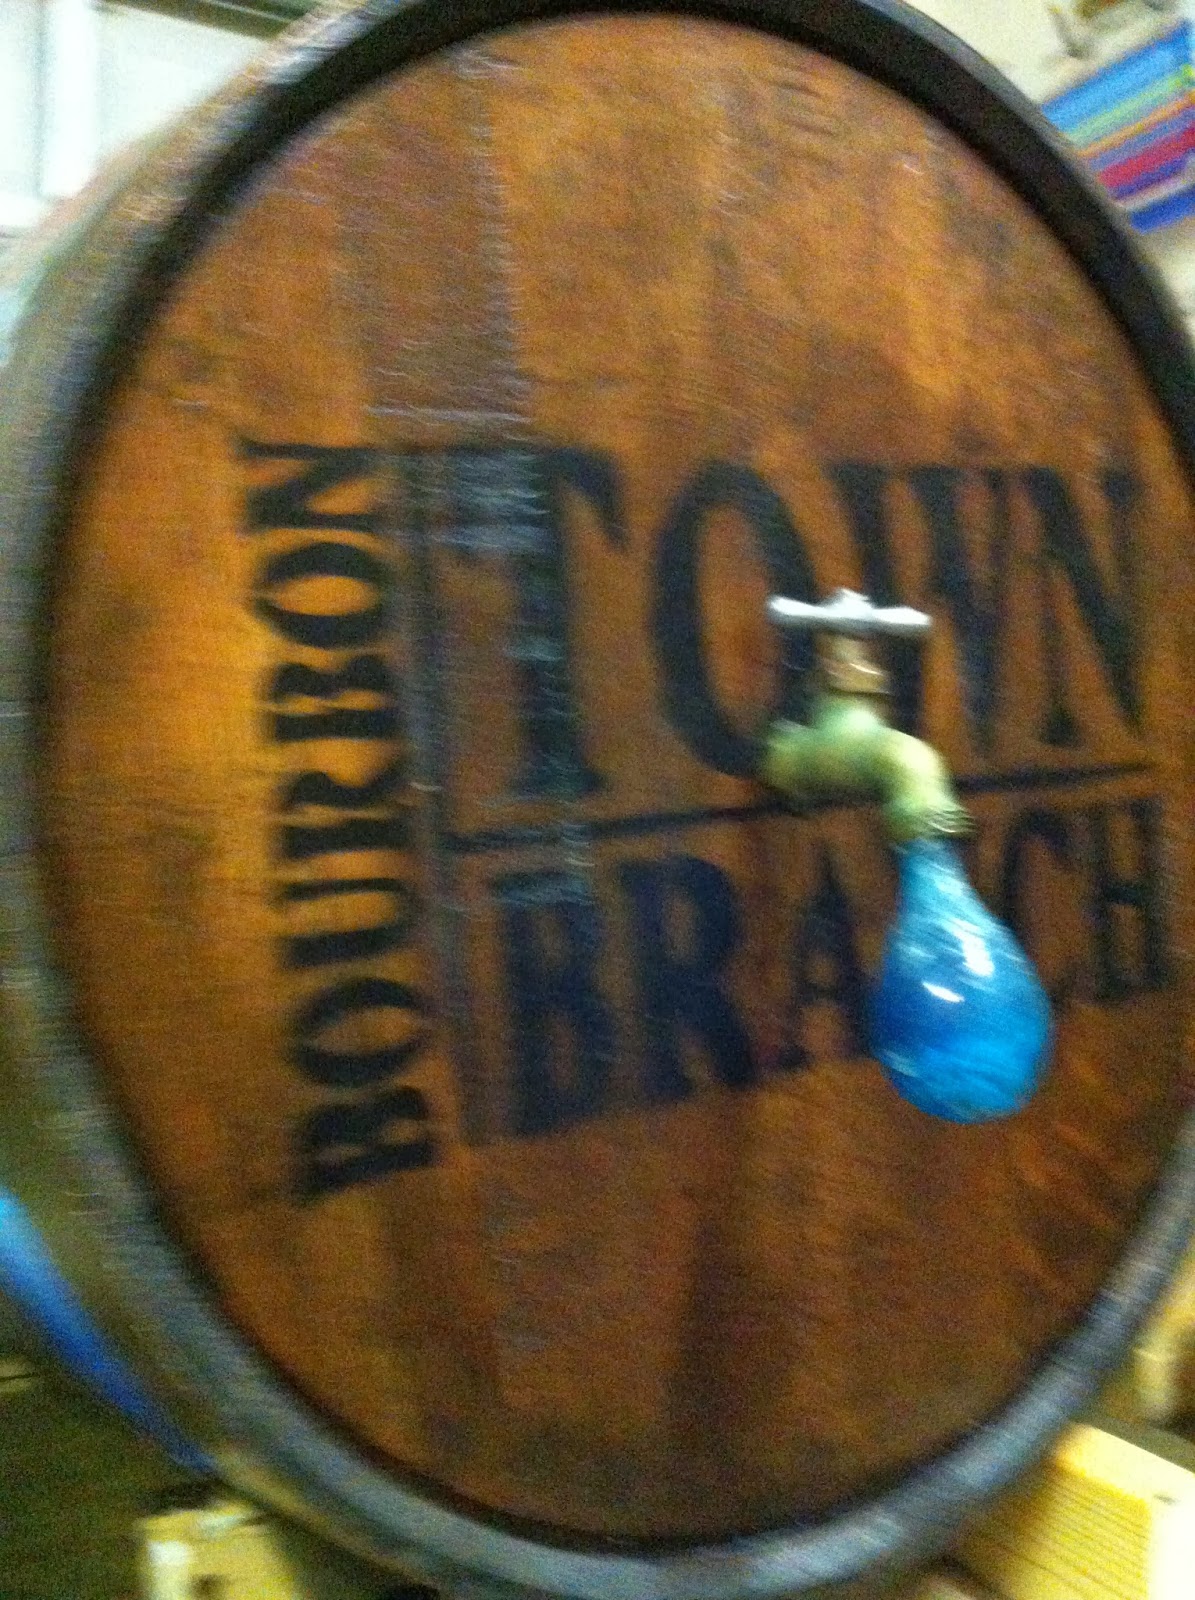
 Sometimes you really take for granted how much time and thought and symbolism goes into a logo.  I have become quite the student of Logos and I am most impressed with the Town Branch Logo, but it was really hard to paint. I redid the "map of Lexington" part of it several times before I got it right and I'm still not sure it is exact, but the clock was ticking.
 I realized that possibly by accident, all of the distillery logos tend to have the same colors in them. It worked great for me, because all of the colors complimented each other.  I really enjoyed painting all of the seals. Painting lettering on a splintery rough rounded barrel had its challenges, but overall, I really loved every minute of it.

 As you can see in the JIM BEAM logo, I had to draw out the logo as if the bands weren't there, but I decided that I really wanted to maintain the integrity of the barrel, so keeping the wood showing and the bands separate from the painting was important to me.
 Maker's Mark is a personal favorite bourbon of mine, so I wanted it to have a special place on the barrel.  I chose to make the cork that is on the top of the barrel, the center of the Makers Mark seal.  In my early plan, I thought I would drip red wax down from this seal to sides of the barrel, but I couldn't find the true thick red wax, and the logo ended up being really close to the others, so I didn't want to chance it running onto them. In the end, I felt it would look better without it.

 The Wild Turkey was so fun to do, and was a relief for me at the time I did it because I had been doing so many letters, so I was really proud of how he turned out.  I only wish I could have fit more of him.  He is a big guy
When all the logos were done, I had to turn it on end, to be able to paint the bands all the way around. I first primed them, and then I painted them copper. I love copper and I use it a lot in my work. I am still pleased that I did it, but when I see the pictures of the original bands, they were beautiful too.  They would have rusted again in the weather, so this is a better way to preserve it. 
 I had not had the Kentucky Bourbon Trail logo in any of my early plans for this barrel, but I had a hole on the barrel, so I decided to paint it on there in that spot.  After I did, both my husband and I loved the way the colors in it really stood out and it looked great on the barrel.  Since I had made the earlier change on the Historical Marker, I decided that this logo was what had to go on the other end.  I love it and I am so glad that I made that change.  It just made sense.


At this point, I had had Chad build a second stand, and set up the second barrel, so I had already sanded the barrel and stained it and scoured the rust of the bands, during down time on the other barrel.
But I waited to start the design phase until I finished the other barrel.
X marks the spot.  Can you see it?  This is the moment where I knew I could not turn back.  There was no messing this up.... I had to drill the hole into the barrel on each end for the spigots.  It had to be just the right size and it had to line up with the other hole on the other side, because I wanted to put a pvc connector pipe in between them for stability.  So I measured twice.... ALWAYS measure twice and then one more time just to be sure.... WORDS OF MY FATHER. 


It seemed like it took an unusually long time to get to the inside of the barrel, but then I did, and all of a sudden the sweet smell of that Kentucky Spirit filled the air around me. One of the highlights of the whole project.  I don't know why I loved that moment, but it was like I had just found gold at the end of a rainbow. Its not like I thought it would smell like anything else, I just didn't expect it to be so powerful. 
 So, the spigots are in and that part was easy enough, so I quickly got to painting the citiscape and  the landscape, and the window, and the water, and the sky.  I was really feeling the pressure of my time deadline at this point.  It was looming and I had been working straight through night and day for two weeks already, so there was no time to waste.
 The other side was fun because I had actually not even thought of what I was going to paint on it until I got to it.  On the preliminary design we only had to design one side and I just thought it would be more of the same of the front side.  Although, once I got to it, I realized that there are so many important buildings in Lexington, and I wanted to represent as much of that as I had room to on this canvas I had been given, and I needed to really do this citiscape justice.  So I took a day to research all the buildings and took pictures of them and designed a new composition for the second side.  I also put in the bluegrass which was really easy.


To Be Continued....
Until We Meet Again,
JD


It is now October, the air is crisp, today I am wearing boots and it feels like fall. It's my absolute favorite time of the year. It feels like summer just started though, time is moving so fast. I feel like I have been SPINNING for the last several months and I have just started to slow down maybe only to start again. In June we went on a family vacation to Florida. On the way down, I made LOTS of lists. I made short term lists, long term lists, life goals, financial goals, travel goals, family goals, business goals,etc. I spent the whole vacation meditating on those lists. I walked the beach for 2 hours every morning before everyone else got up and listened to the ocean and prayed about those goals, dreams, LISTS. I carved them in the sand even. I came back feeling completely renewed, and organized and ready to conquer the world.  Almost immediately things started happening in relation to those very lists. I haven't even had to time to blog since then much, because I have been extremely busy making things happen. I would love to write it all out, but I don't even know where to start. It has been a whirlwind. One that makes me smile every day, not just because things are going good, but because I know I am not the one who put those things into motion. It was God and my faith and my trust in his ability to do bigger things than I could.  I also know that even if the whirlwind was a downward spiral instead of an upward one, which may be coming due, I know exactly who is in my corner.  Miracles have happened. I have been a witness. Greater days are yet to come.

I will continue to post individual updates on the progress of the past months events.

Until we meet again,
JD

Saturday, August 3, 2013

Bourbon Barrel Project on Town Branch

Well, here they are the bourbon barrels....  I am SO excited to have the opportunity to participate in this project.  I love it when history, heritage, community, and art come together and this is one of those times.  I will include the link at the bottom if you would like to know more about the project. I submitted 2 designs for this project, but I did not really expect to be chosen, but I hoped at least one would be chosen.  I called to arrange pick up of my one barrel, that I was overjoyed to have, only to be told I had two designs chosen.  I think they are beautiful in their raw form, but I am going to have so much fun transforming them, and I decided to blog about the process.
Day One:  August 1, 2013

Chad goes to pick up the barrels and I came home and this was the first time I saw them.  I can attest that they smell just like you think they would, which to me, is wonderful!  I love bourbon, I love that it is Kentuckian, and I love wood barrels.  Chad and I recently toured the Woodford Reserve Distillery, and my very favorite part of the tour, was getting to see all those barrels stacked in the warehouse.
I just love them.


 Day 2: August 2, 2013
The next night, I was working late on a mural job, and I got home around 1:00am, and saw that Chad had been working on making room for me to work on them, adding lights to the workshop, and building me a stand to hold them up to a comfortable work height. Wow, Thanks Chad!  (I think he is as excited as I am about them).  He is definitely doing his part so far:). This is how these will be displayed, so I have to work on them sideways.  Now I am ready to get to work!
 Day 3, 2013

 First thing, I have to do is to get all the rust off the straps and sand the splintery wood.  So, a rust bath it is.... I mixed up a solution of White Distilled Vinegar and Dawn dishsoap and used a wire brush to scrub all the rust off the straps.  It came off with ease and is ready to prep for paint.


We thought it was pretty neat to find the date on this barrel.  It will be painted over, so I wanted to save the picture.


This is Barrel Number 1, which is titled "The Bourbon Trail"  To  bring the design to life, the first step was to sand , which I did, and then to stain.  I was originally going to set them both up so that I could work on them at the same time, but I decided I just want to do this one and get it done and then work on the other one.  I never can focus on just one thing and get it done before moving to the next. I always am juggling on average 7 or 8 projects at once.  Chad is betting against me being able to stick to that strategy on this project. I may break down and set them both up, but for now I just want to focus on this one.

I will keep posting about the progress, but if you would like to know more about the Bourbon Barrel Project on Town Branch you can  go to the link www.bourbonbarrels.org You can also like them on Facebook and follow all the barrels as well as  important opportunities for viewing them when they are on display.


Until we meet again,
JD


It's chalk and chalkboard....Or is it?


 To Chalk or not to Chalk....

This is a little boy nursery, who is yet to arrive.  I was given the idea by  the client and designer,  but they wanted owls instead of lovebirds which the inspired picture showed.  They wanted baseballs and hot air balloons incorporated into the design. The room has two full walls, two doors, and the little space above the door that are all chalkboard paint.  The other two walls are white.  They were also going to be incorporating red and yellow into the room.  So I painted the trees, the owls and the hot air balloons, in paint made to look like it was chalked, but the kids ( there is also a precious two year old)  will be able to "play" too.  I love this idea for any child's room, nursery, playspace, school classroom, workspace.... you name it. I truly enjoy
painting this kind of fun space! 
Door Wall where crib will go

 To the left is the close up image of ball throwing owl
 In this image, the two little baby owls look on to see who gets to catch

This guy is hoping it comes to him.

These little owls have either taken leave of the game or they are just in time...


They are on the white wall, so the paint is charcoal.

Thursday, July 18, 2013

Wallpaper removal UPDATE

Okay, I made it, a little worse for the wear, but I Made it!  As for the archaelogical dig and searching for buried treasure, all I found were some contractors notes on the drywall, NOT such a prize after all.  I think it should be written into law that only people who hang wallpaper should be the ones to have to remove it....  I won't be one of those people and I have given my accountability partner, CHAD,  instructions to enforce that law to me if I should mention ever again, that I am going to remove any wallpaper anywhere!   A humbling practice in patience that I will take with me to the next endeavor and I'm sure be better for it, but no more wallpaper for this gal!

Until we meet again,

JD 

Wednesday, July 10, 2013

Wallpaper Removal....

Have you ever had one of those days when you realize you DON'T know everything? I'm not a big fan, but I had one of those yesterday.  The best thing about it is that afterwards if your diligent, you come that much closer to knowing everything:).  So for me this day involved tackling a job not unlike many others I have done before.  I am booked solid for the next four weeks, so I booked the "easy" one first, it was a mini half bath, one layer of wallpaper to be removed, put a finish treatment on walls. Piece of CAKE.  I very much dislike stripping wallpaper, but sometimes it comes with the job, so I do it.  However, yesterday I came to realize that the act of stripping wallpaper is exactly like childbirth, or just as painful, only with no sweet reward at the end.  But I mean in the way that you completely forget just how painful it is until you do it again.  I thought since it was only one layer and it was a tiny room, I would have that baby stripped by noon, but I gave myself a buffer and planned to be working on it until 1:00. Well, soon after I started stripping and the wallpaper was coming off in quarter size pieces with a struggle, I started to think this mini half bath looked more like the state of Texas, not to mention my 1:00 finish time seemed laughable.  It turns out that the only thing separating the one layer of wallpaper from the wallboard was a flat primer which the wallpaper glue had decided to love and marry forever, so I was not only stripping wallpaper but the wallboard paper as well. Now this job has turned from a 3 day job into a week at least, and I don't have that long, so I went to research what to do.  I found this great site that explained the differences between types of wallpaper.  Apparently there are 3 types| 1. Strip able which peels off in big sheets when you pull on a corner. (In which case, the author suggests opening a bottle of chanpagne:)) 2. Peel able which is where you are able to pull of f the top layer in big sheets, but it leaves the paper backing, which you just soak and it scrapes off without too much trouble. And 3. Traditional, which is like newspaper super glued to your walls that you have to pull of in quarter size pieces. ( that is actually my interpretation since I deduced I had the 3rd one.)  If you ask me the author had that backwards because a nice cold bottle of bubbly could have only helped my situation. Since I don't consider that to be a sound professional strategy, I simply decided to turn up my iPod louder and imagine I was on an archaeological dig.   Even now that I am armored with all this knowledge, it doesn't change at all the fact that I will be spending the next four days and nights in this tiny space hard at work digging for buried treasure.  However, I can share so that others may be spared....  If you are preparing to either wallpaper a room, have a room wallpapered or strip wallpaper in a space, you need to determine what kind you have and under no circumstances whatsoever, should you hang traditional wallpaper. I don't care how cheap it is, or how much you love it and think you will never want to change it!   Don't do it!  If you are removing wallpaper, check in a hidden spot and see what kind it is and if it fits the description of #3, you would be better off to patch any rough spots or seems and use a fine sander and sand the walls until smooth and then paint or paper over it.  I would never suggest doing something because it is easier if that meant that you would have to sacrifice quality of the end result, but in this case, I think it is better for the walls to not strip it.  If it is hard to remove, you risk getting it too wet, and gouging the wallboard.   Good luck!

Until we meet again,
JD
::